
So it’s January in the Mid-Atlantic. That pretty much means sooner or later we’re going to be really cold. And sometimes, you just get a little stir crazy – especially if it’s been overcast for multiple days. The story of Holly Bubble starts on one of those super cold long stretches a few years ago.
Now to be honest, I’d had the idea and was waiting for it to get below zero for a day or so. And the idea itself wasn’t original – I’d seen it somewhere on social media or a magazine or something. I was dying to try it.
The idea is to blow a bubble in freezing dry air and it will instantly freeze before it can pop. Cool. All it takes is a regular bottle of kids bubbles – we got ours from a dollar store for next to nothing. Finally the temps were right for the experiment. It’s freezing out there so we didn’t want to go very far. Out onto the back deck I went with my bottle of bubbles and my camera. Here’s what happened first.
Lens Fog example when the camera isn’t acclimatized for cold weather
Ahem. Yes. Note to self – let the camera acclimatize before attempting this straight from a warm and cozy house. Well we knew that but hadn’t applied it.
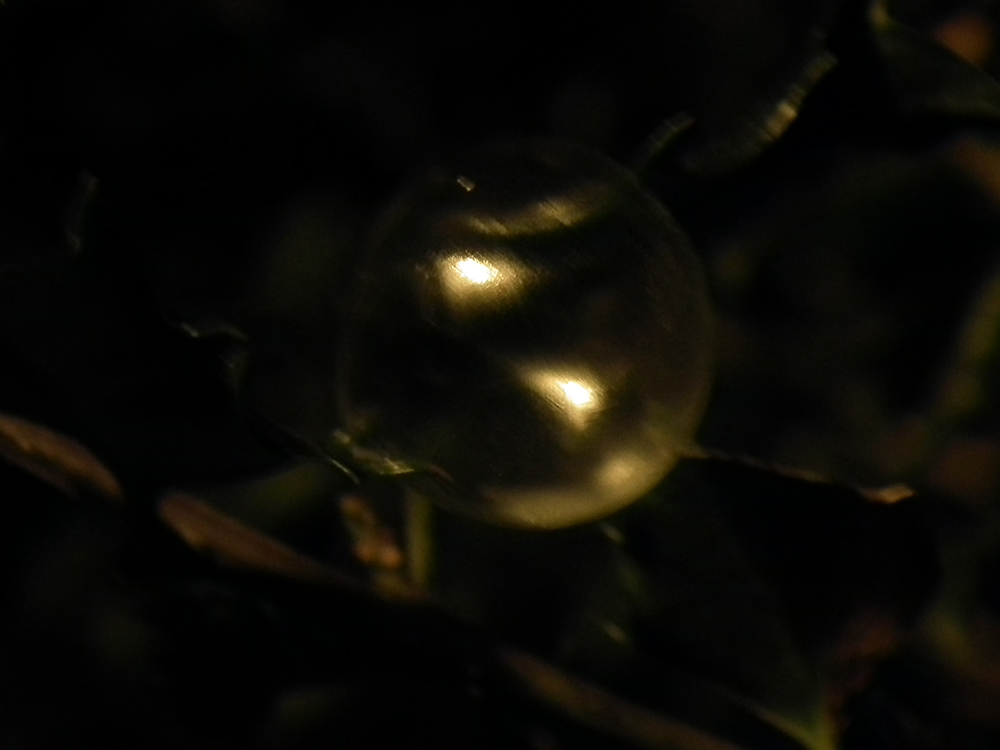
Next one must learn to blow bubbles in the cold. Not as simple as you think. They don’t float when they instantly freeze – they drop like the little air filled ice cubes they have become. And they are brittle. They pop and crush instantly. Practice, practice, practice. We ended up sorting out the best options were to blow them directly onto either glass – like an outdoor table or the windshield – or the soft cushion of leaves.
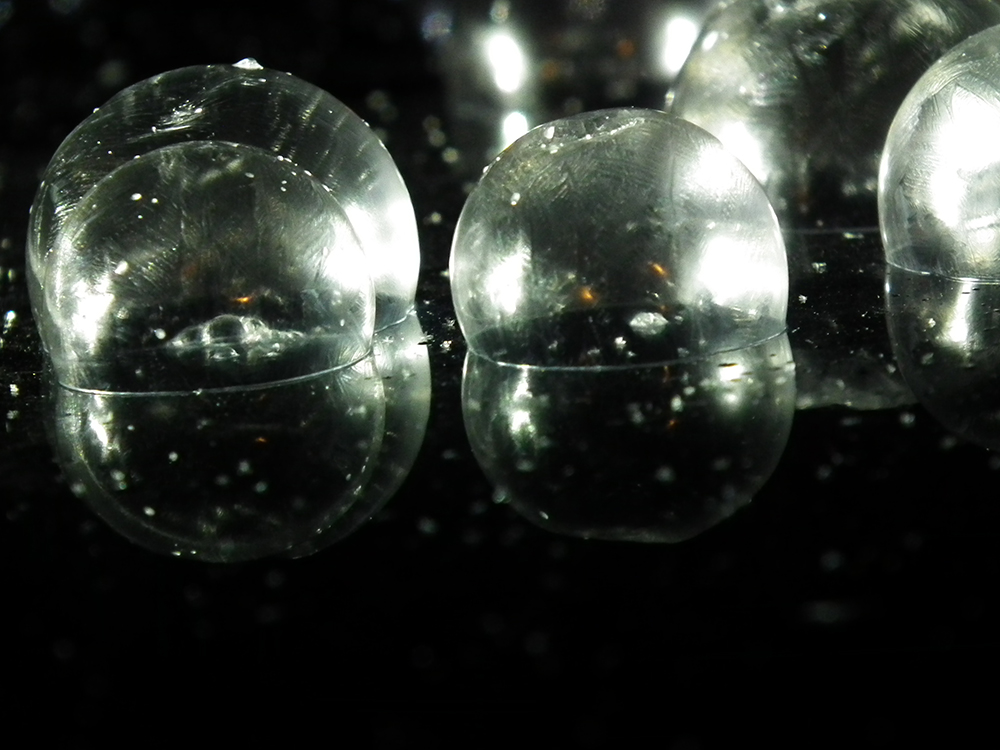
Bubbles gently land on a glass table when blown close to the glass
Light also makes a huge difference. Turns out the best way to capture all those fractures and fissures in the bubble is by shining a light source from different angles. One problem – a photographer only has 2 hands. So you recruit a grudging partner to either blow the bubbles or shine the light while you snap away. Trust me, you might need a little coaxing for this part of the experiment.
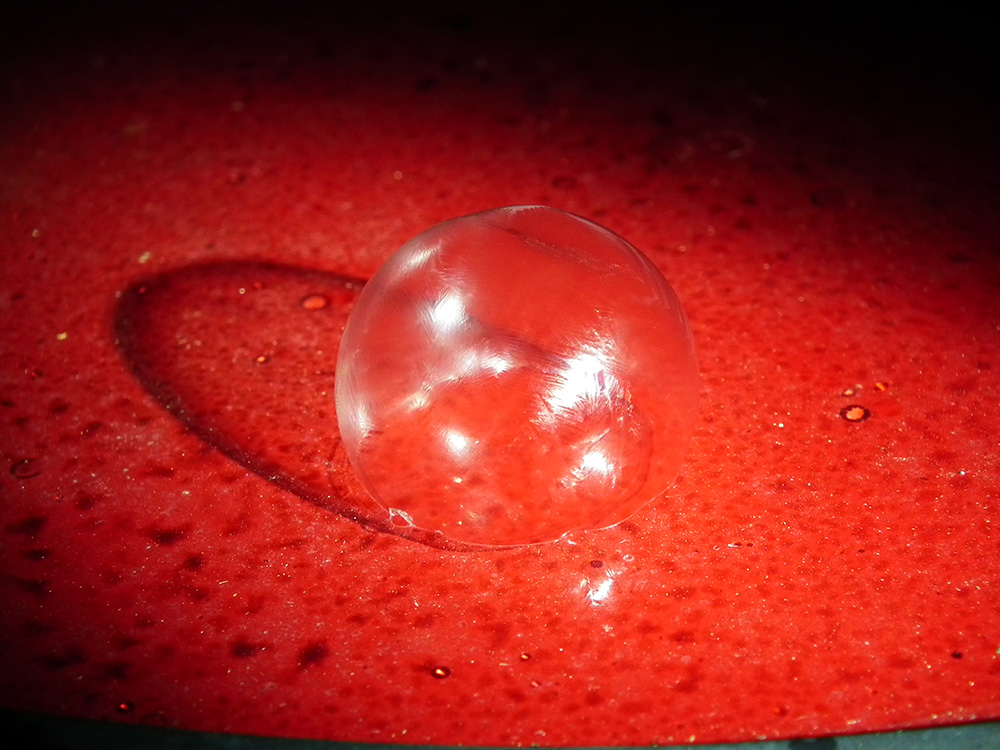
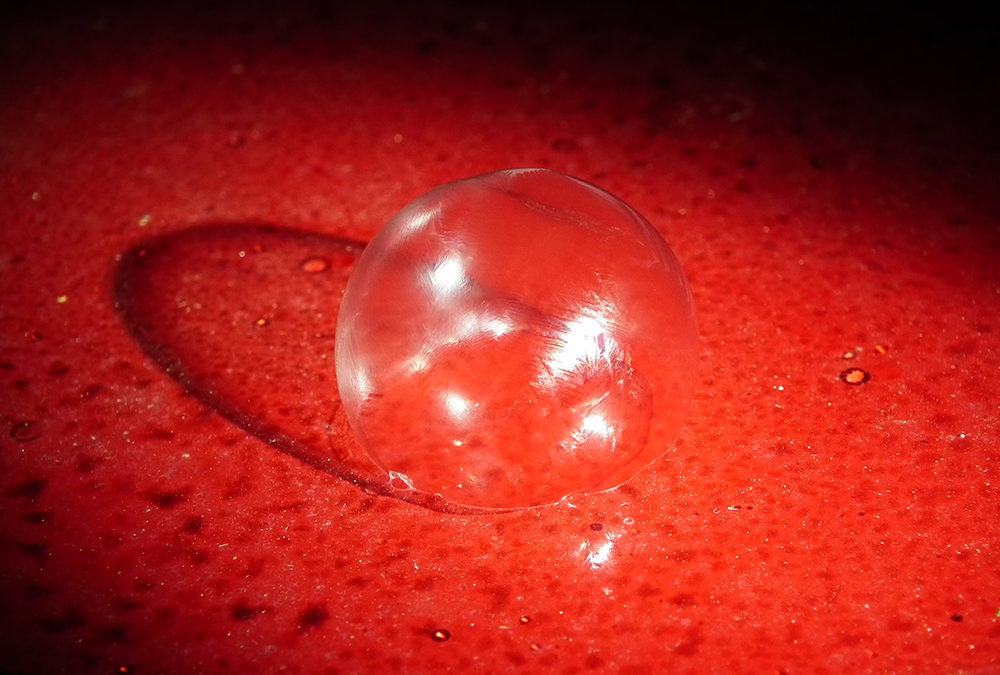
Letting the frozen bubble gently land on our dirty red glass table and shining a flashlight provided interesting options
For the heck of it, we went in and out for brief periods over the evening. For the last one I intentionally put the bubbles where they might catch the morning sunrise light and hoped to see what it looked like in the morning. Here’s one from the morning session. And our favorite from the sessions called “Bubble Holly”.

The morning sunrise captured glowing on the overnight bubble. Note the frost on the glass windshield.
Give it a try. It doesn’t cost anything and it’s probably cold enough eventually where you are to play around. There’s no post processing on these photos – straight out of the camera. Good luck. And don’t forget to share your experiments with us at www.facebook.com/SueHendersonPhotography/

“Holly Bubble” – our favorite image from the frozen bubble experiments.
